
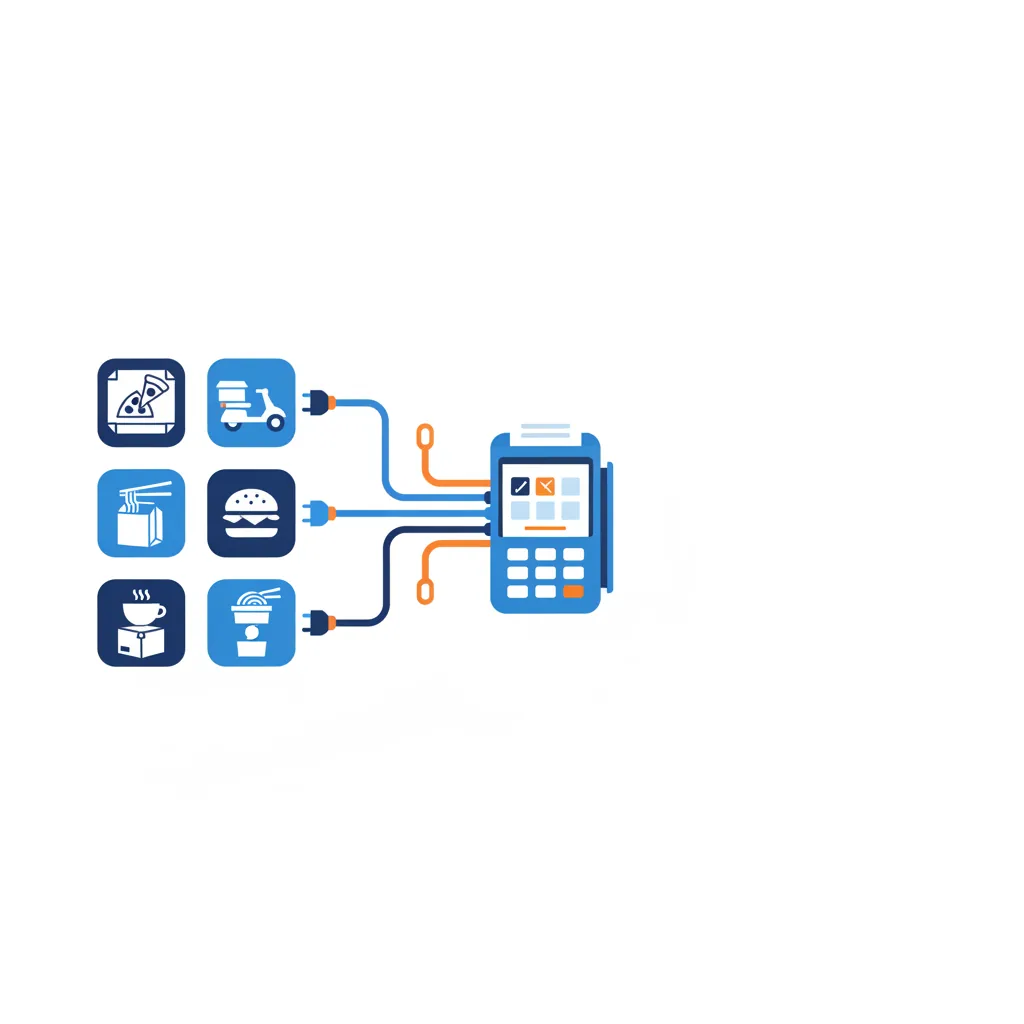
Connecting your delivery apps to Addmi takes a few minutes and ends the tablet-per-app routine for good. Once connected, DoorDash, Uber Eats, and Grubhub orders arrive as tickets in your Addmi POS order queue and your menu syncs out to the apps automatically. This is the setup walkthrough for the bigger picture in manage DoorDash, Uber Eats & Grubhub from one POS.
Before you start
Make sure you have:
- An active Otter account with your delivery apps already connected inside Otter. Addmi reaches DoorDash, Uber Eats, and Grubhub through Otter, so the apps live there first.
- Your Otter store ID for the location — a unique identifier found in Otter Business Manager.
- Your Addmi menu set up, since that is what syncs out to the apps.
Step 1 — Open the connect screen
In your Addmi business dashboard you can reach it two ways:
- Menu → Manage Delivery → Delivery Apps, then choose Set up Otter, or
- Settings → Integrations → Otter.
Both land on the same connect form.
Step 2 — Enter your Otter store ID
Paste your store ID into the field and click Connect. Copy it exactly from Otter Business Manager — a stray space is the most common reason a connection is rejected. When it succeeds, the tile shows Connected.
Step 3 — Confirm orders and menu
Once connected:
- New marketplace orders begin arriving in your POS order queue as native tickets, auto-accepted with a prep-time estimate.
- Your Addmi menu syncs out to the connected apps, so from now on you edit the menu in Addmi. See one menu, every delivery app.
Turning it off
To pause, open the Otter tile under Settings → Integrations and click Deactivate. Orders stop routing into the POS right away; your apps remain live on Otter's side.
Troubleshooting
- The Otter option is missing — you may not be signed in as an admin for the business. Ask your account owner.
- Connect fails — re-copy the store ID from Otter Business Manager and check for extra spaces.
- Orders are not arriving — confirm the store shows Connected in Addmi and the delivery apps are live in Otter.